
My next four posts are going to focus on the backcountry gear we use for our adventures. “The Basics” include tent, sleeping pad, sleeping quilt, and backpack.
In general, I’m of the belief that ultra-light backcountry gear shouldn’t cost an arm and a leg. “The Basics” gear is the one caveat to this. So if some of this gear seems expensive (which it is), there are also cheaper options I’m including and the subsequent gear posts will be considerably more cost effective.
Tent
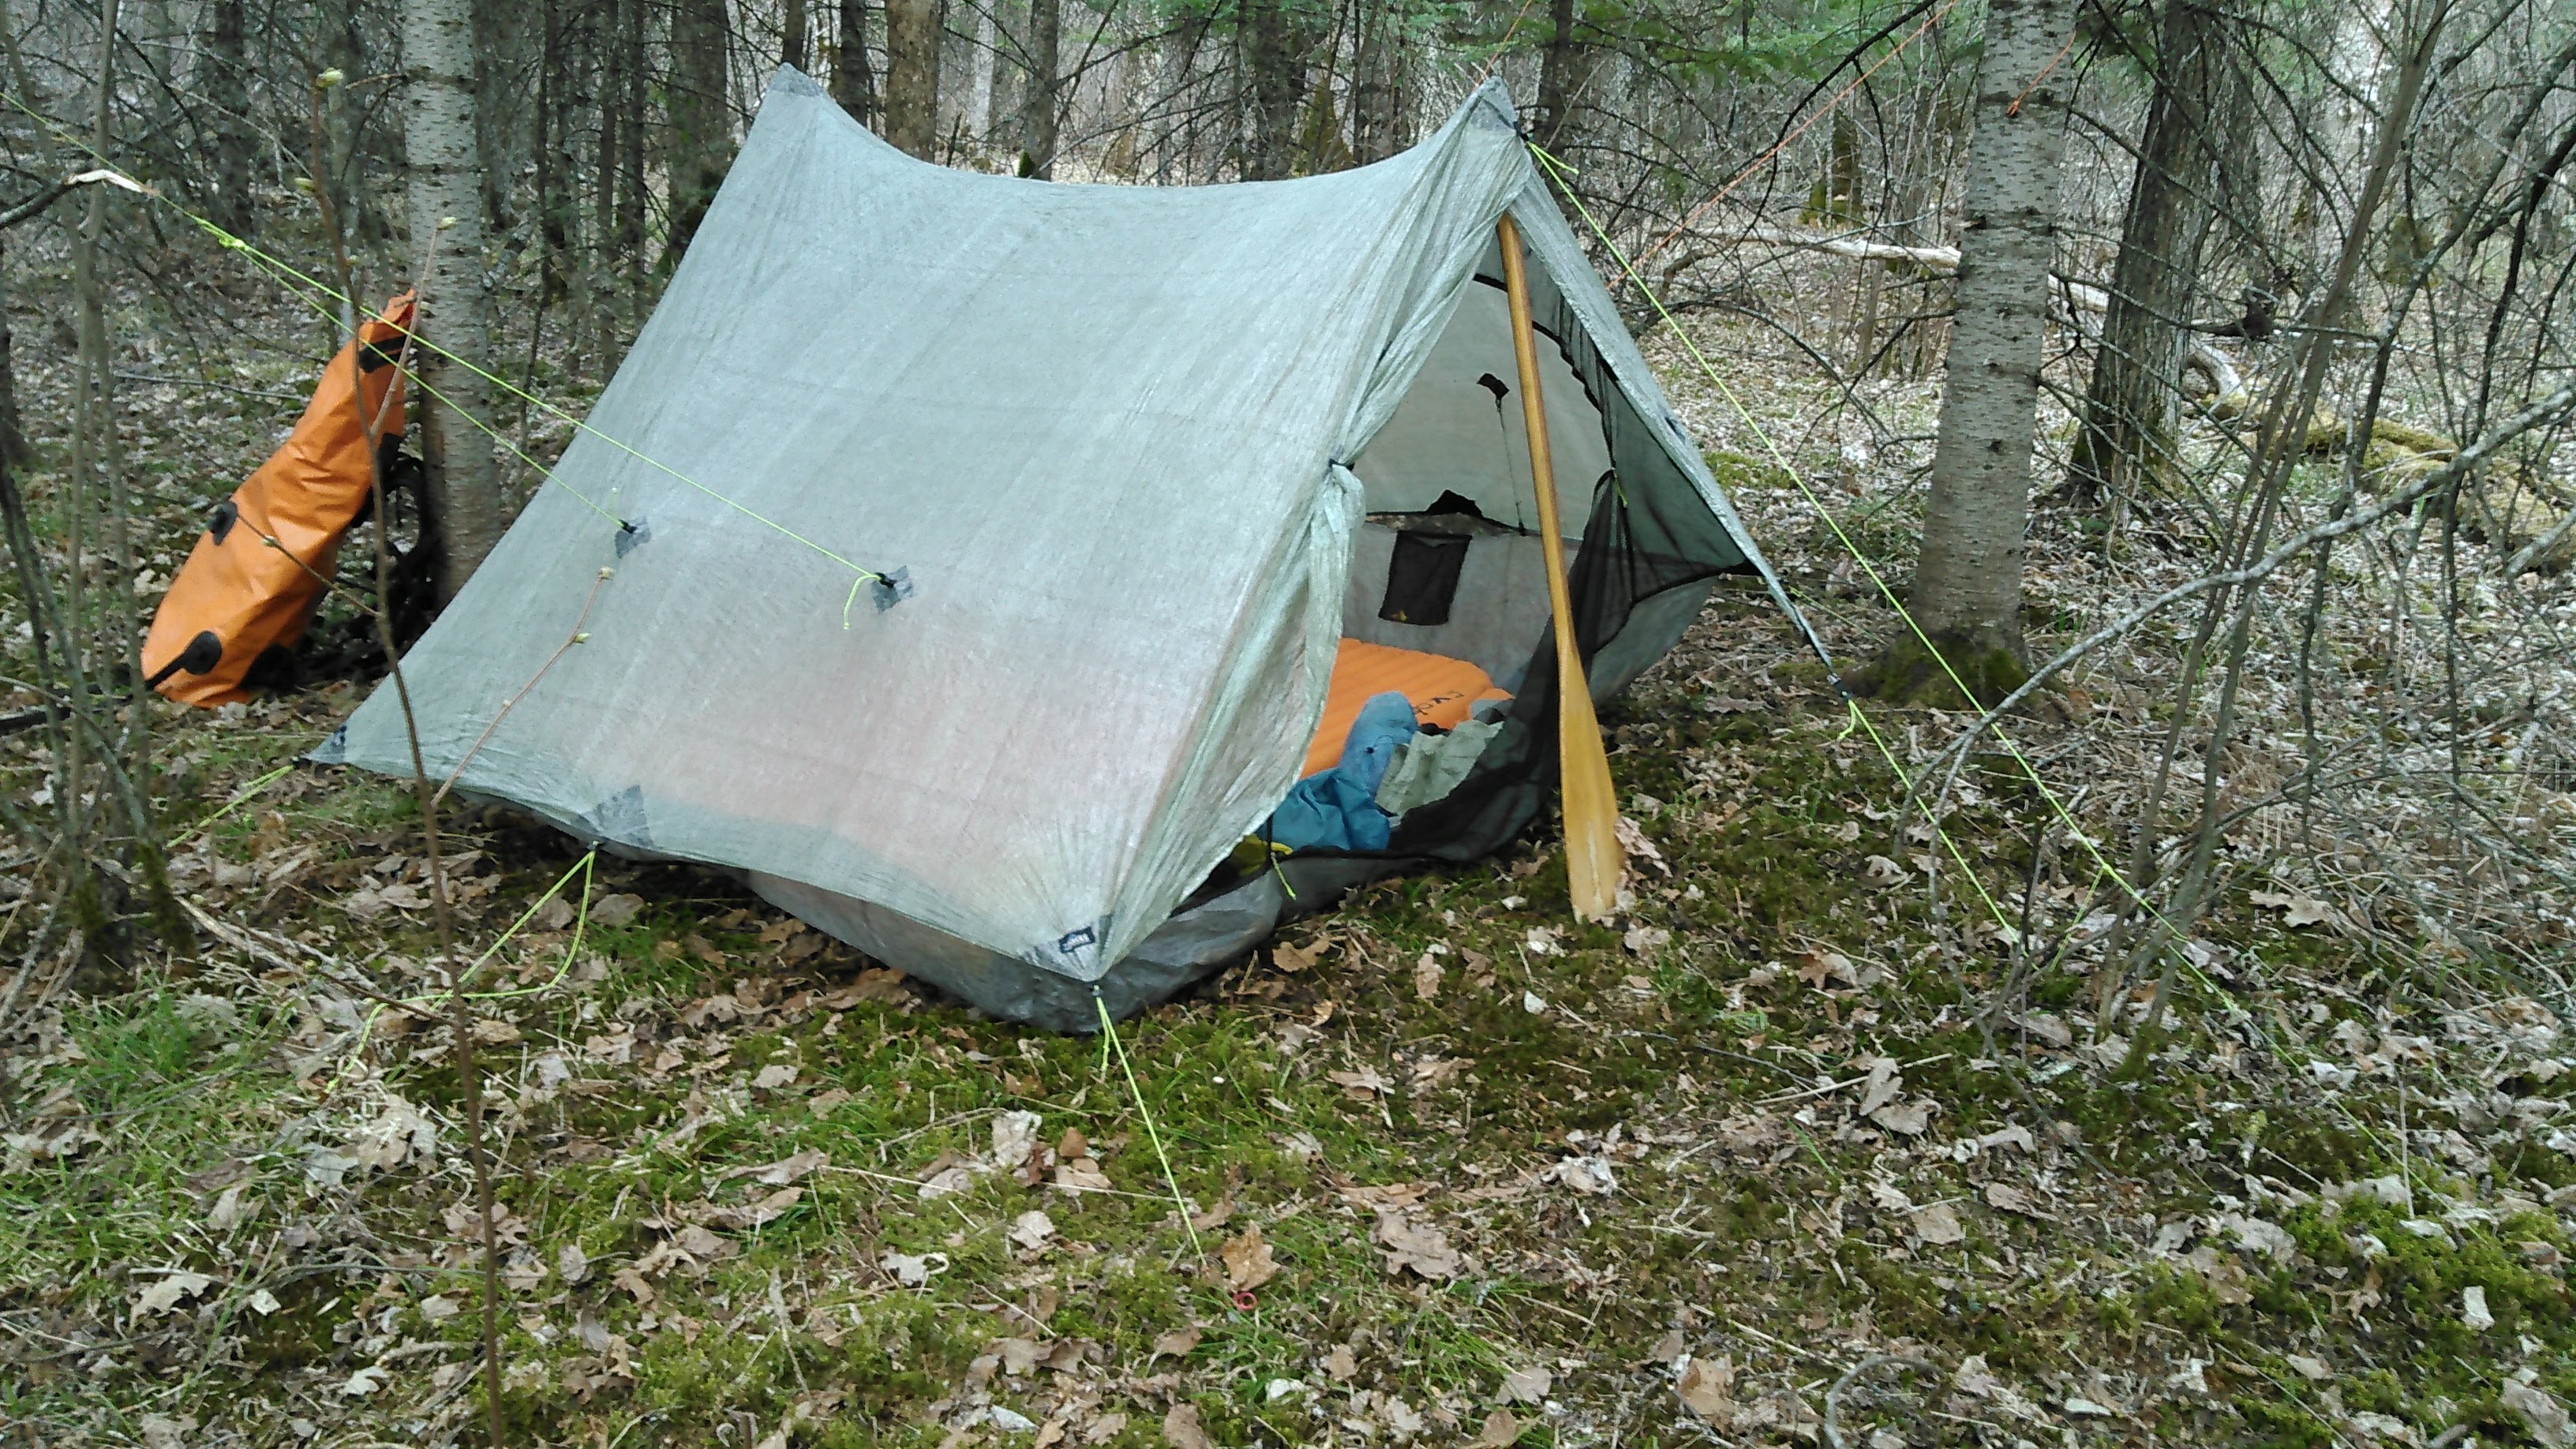
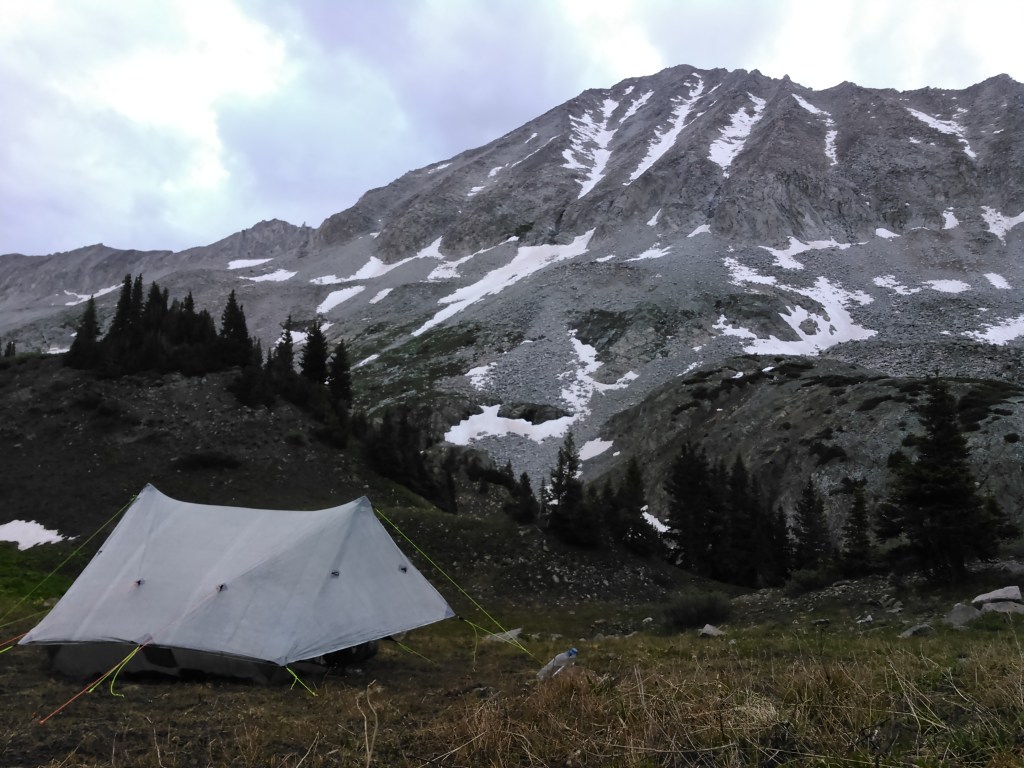
Current model: Zpacks Triplex Tent in olive drab ($714)
Pros:
- very lightweight (22 oz)
- two side zippers for easy getting in and out
- very waterproof, minimal condensation inside, dries quickly
- does well in wind (very windy night in Glacier National Park and 10 nights in the Arctic)
- made from dyneema fabric, also called cuben fiber, stays tightly pitched when wet
Cons:
- crazy expensive
- needs a relatively big spot to set up (i.e. big footprint), and up to 12 stakes
- zipper seems a bit delicate near the top if the poles are too long and there is weight on the floor; that being said, we’ve slept in this tent over 60 nights now and the zippers haven’t broken yet
Special notes:
- does not include any poles (need to either use hiking poles, paddles, or sticks)
- does not include stakes either (hence making this tent even more expensive); we use these, also from Zpacks (just don’t hit them too hard into the ground with a rock hammer)
- reviews noted that a 2-person tent (Duplex) was very tight and 3-person (Triplex) roomy; we spend a fair amount of time camping and so we decided to go for the 3-person and we haven’t looked back; this allows us to store some gear in our tent and based on how it gets set up (since there are no set tent poles) if we set it up taller then it really only is a 2-person tent.
Previous model: Tarptent Squall 2 (discontinued; updated model Motrail for $265)
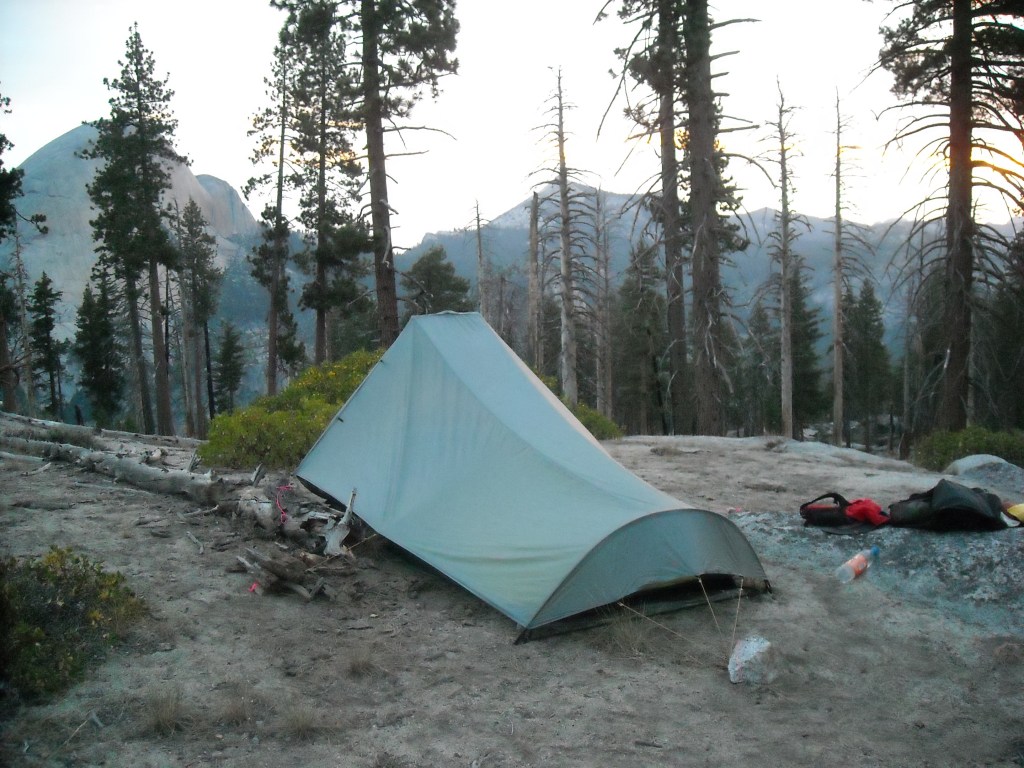
Pros:
- lightweight (34 oz)
- sets up in small spaces
- easy to use a tree instead of a pole
Cons:
- requires seam sealing before first use
- entrance only in front.
- inside walls get wet from condensation
- the silnylon fabric absorbs rain and condensation, causing it to sag
- slower to dry out
Special notes:
- as noted above, this tent requires waterproofing (click here for tips on keeping your tent drier)
- it also requires a paddle, hiking pole, stick, or tree to set up
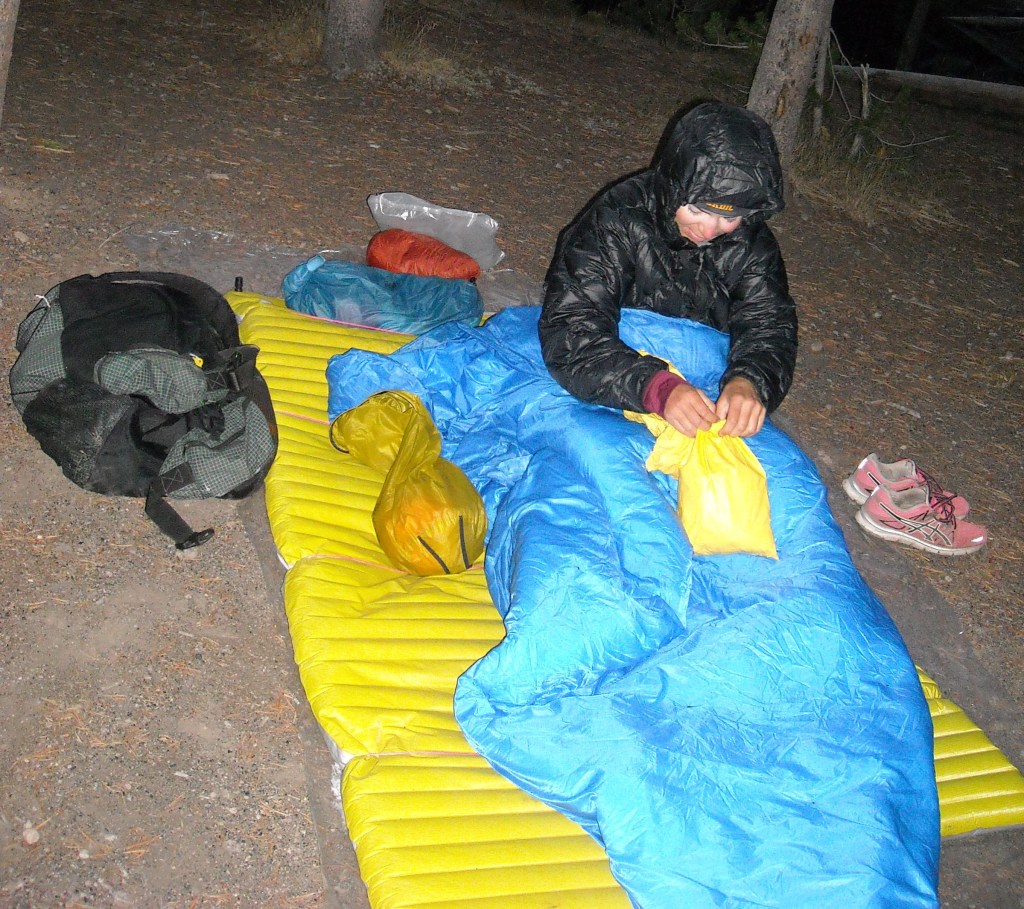
Sleeping Pads
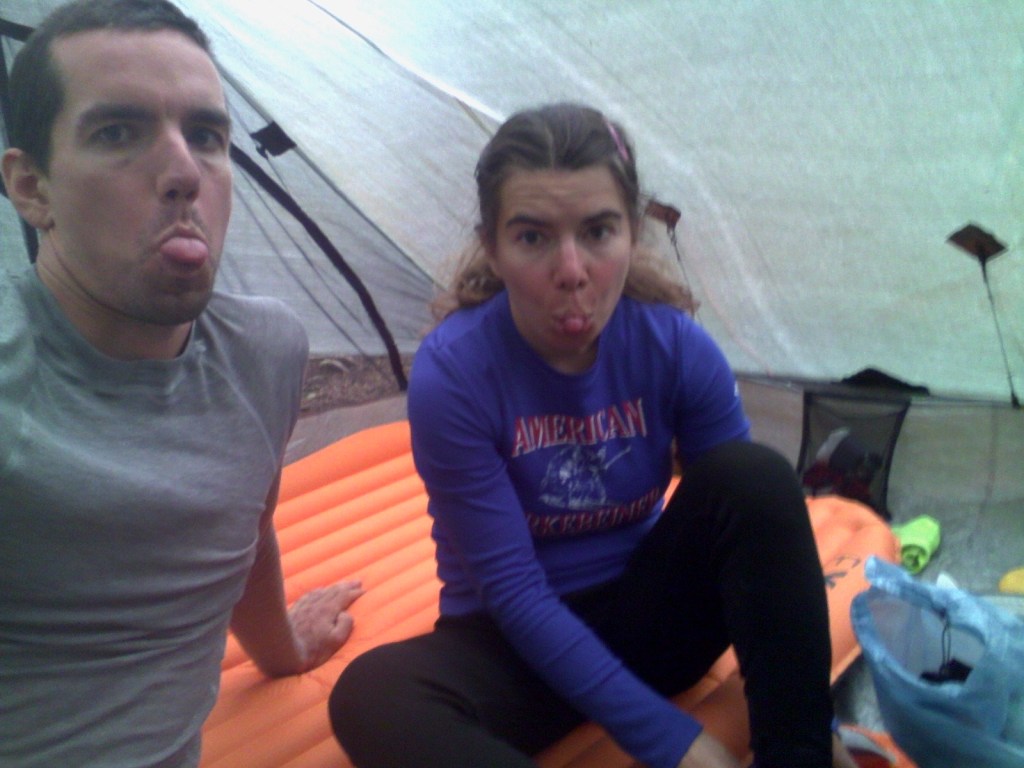
Current model: Exped Synmat HL DUO M ($279)
Pros:
- double air mattress
- good for side sleepers
- uses an airbag (The Schnozzel Pumpbag) to blow it up (technique can be difficult to master)
- lightweight (32 oz including The Schnozzel Pumpbag and packsack for 2 people)
Cons:
- condensation builds up inside resulting in visible mold growing inside the pad despite always using The Schnozzel Pumpbag
Special notes:
- having a double air mattress is pretty much essential if sharing a quilt
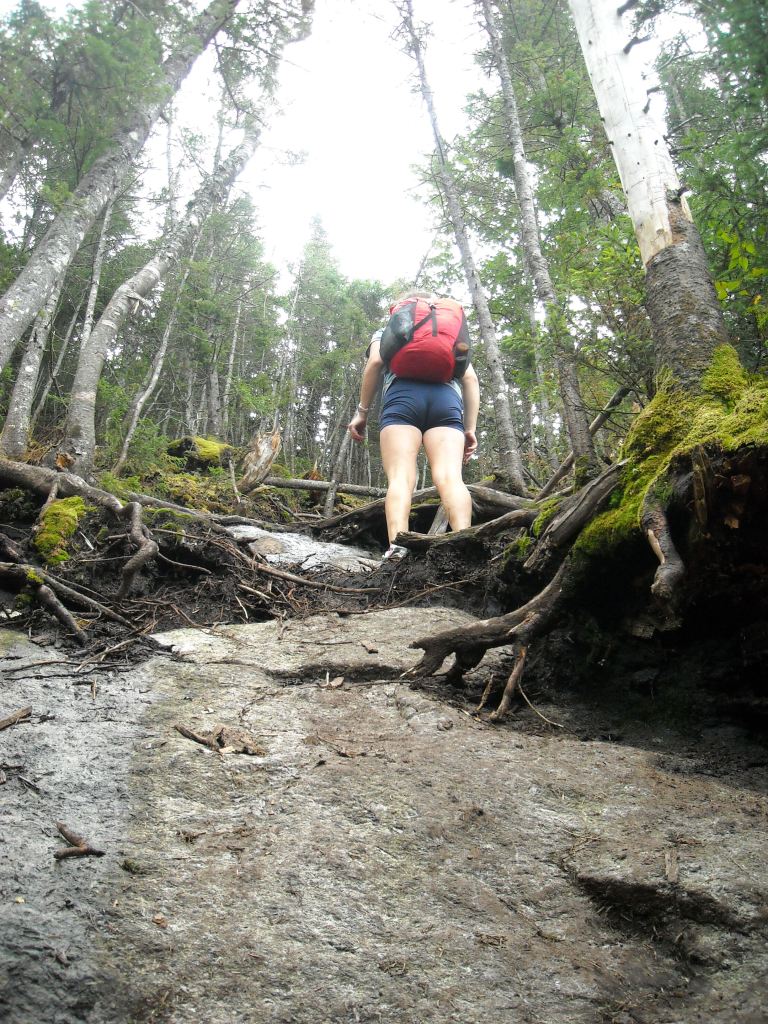
Previous model: NeoAir XLite Sleeping Pad by Therm-a-Rest ($150-230 depending on size)
Pros:
- very lightweight (12 oz for regular size)
- good for slide sleepers
Cons:
- as the Exped rep told Erik, the NeoAir “sounds like a bag of chips”
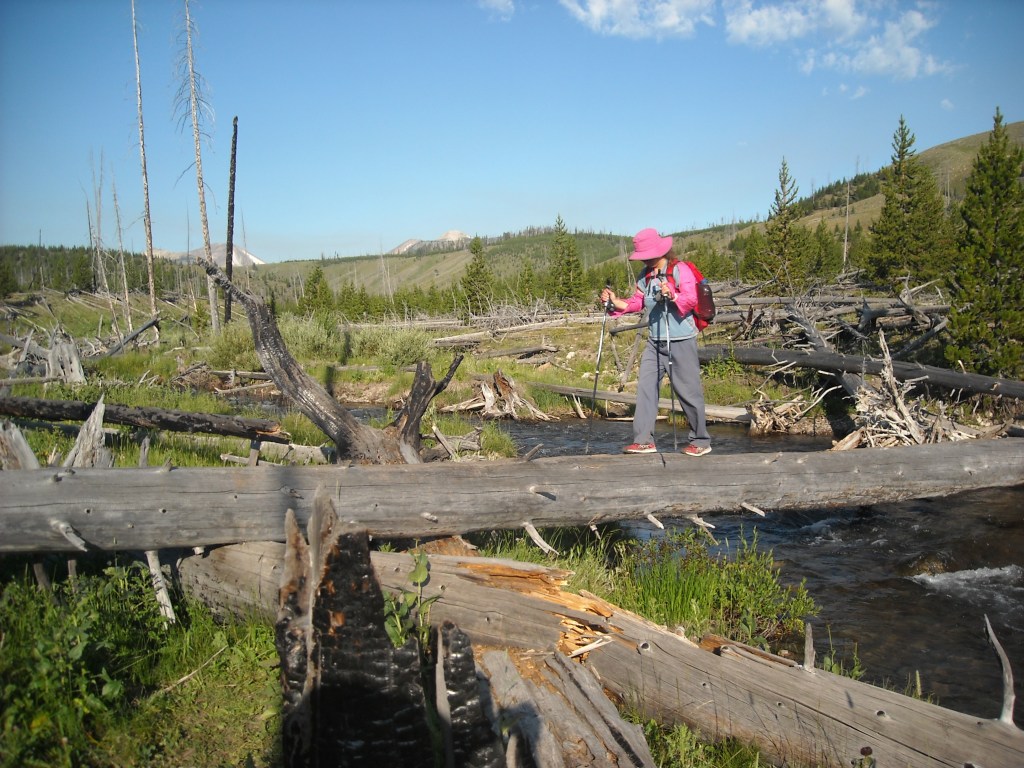
- very delicate- that sharp piece of wood in the photo above punctured mine
Special notes:
- I still have mine for rare solo trips along with my old down REI sleeping bag rated to 35 degrees and that is not making an appearance in this post as its too old 🙂
Sleeping Quilts
Current model: The Accomplice by Enlightened Equipment ($420)

Pros:
- very lightweight at 32.2 oz
- warm (rated at 20 degrees)
- sleeping quilts are way easier to get in and out of compared to sleeping bags
- snuggles!
Cons:
- a bit pricey but for two people
- sized for two people of equal height (my side of the footbox is empty)
Special notes:
- when it’s really cold, like in the 20s, I will sleep in my down jacket
- my feet have never been cold in a sleeping quilt
Previous model: Ray-Way Alpine 2-layer Two-person Quilt Kit in Royal Blue ($177)
Pros:
- way easier to get in and out of compared to a sleeping bag
- Weighs 42 oz, which is less than two similar sleeping bags
- for short people like me no need to wear a hat- the quilt is big enough to cover our heads
- warm down to 32 degrees
- we sewed ours a little smaller than standard for a custom fit
Cons:
- does not compress well
- requires a few hours to sew together
Special notes:
- Erik sewed the foot pocket higher than recommended for increased warmth
- the only reason we upgraded is because I’m married to a gear fanatic who had to have the next best thing
- we did not get the split zip (allows the quilt to be split in half for easier transport)
Backpacks
Current model: Zpacks Arc Haul Scout 50L Backpack in autumn orange ($299)
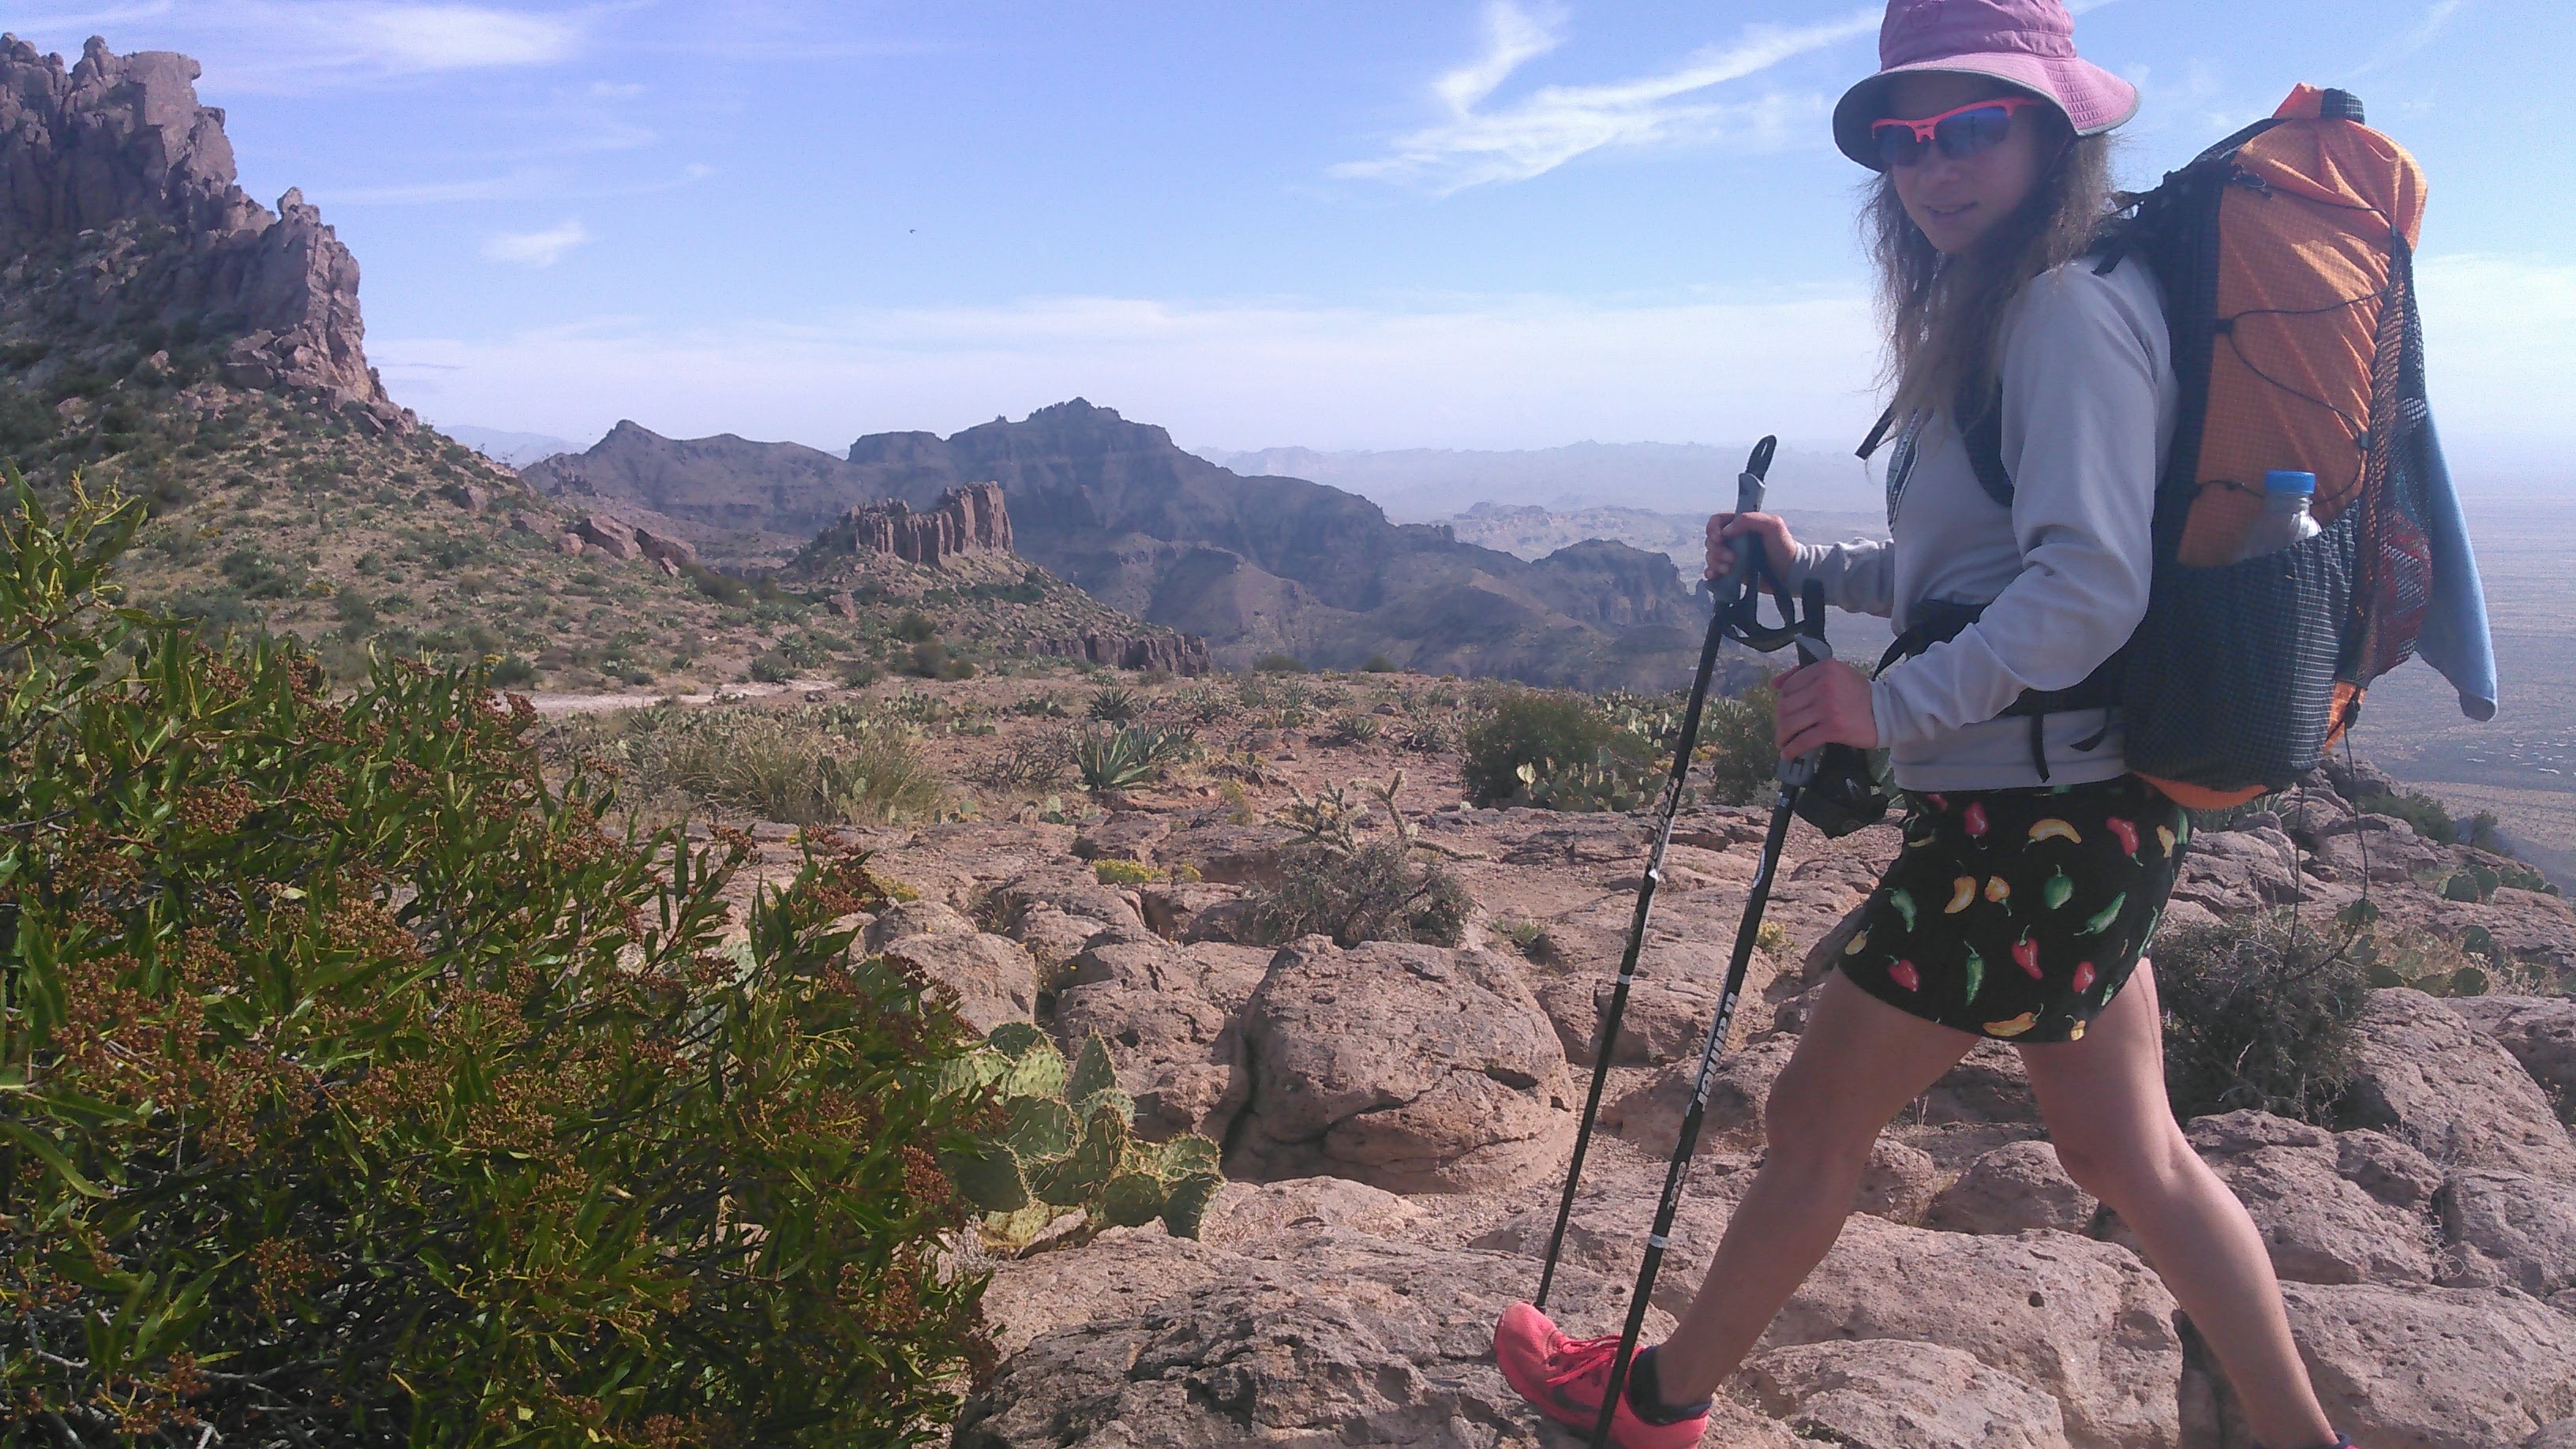
Pros:
- lightweight (weight 21.2 oz)
- customizable so can choose outer pockets
- carries weight incredibly well (30 pounds feels like 10)
- fits lots of stuff
Cons:
- the gap to keep the back cool doesn’t work perfectly
- pricey- at least compared to my EMS red pack below (Zpacks gear is hand-sewn in Florida!)
Special notes:
- Zpacks has both dyneema and gridstop fabric available; in general dyneema fabric is lighter and more expensive but doesn’t seem to wear as well in areas where it is rolled (such as the top of the pack)
Previous model: Six Moon Designs Swift 2010 (discontinued frameless ultralight pack)
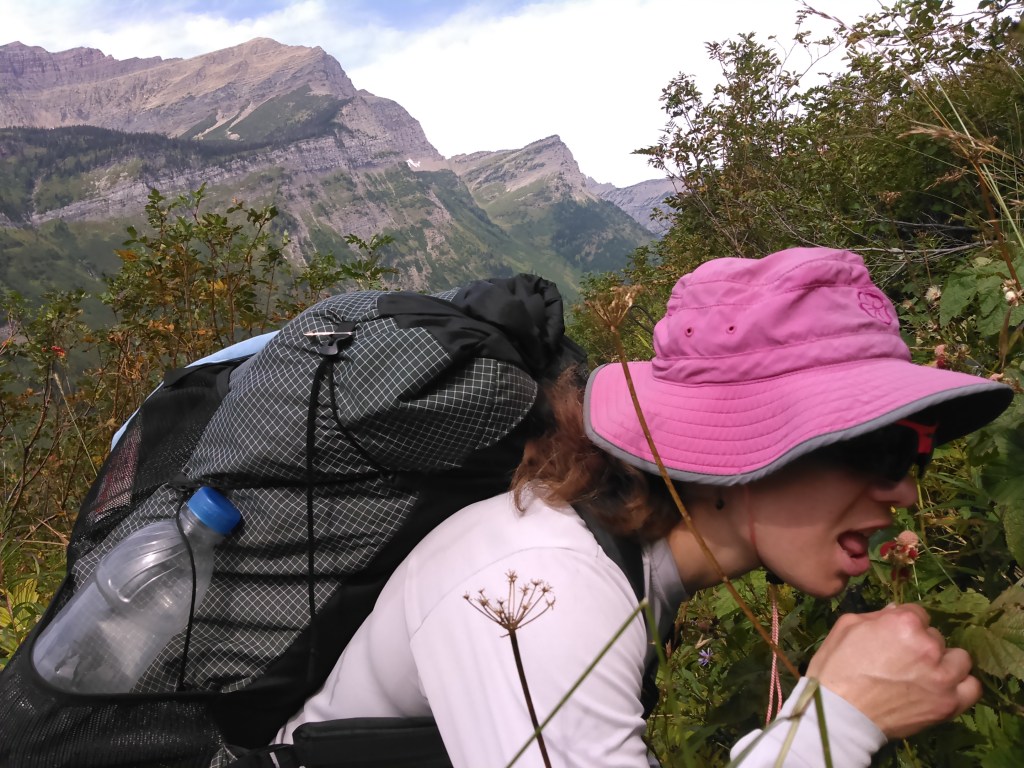
Pros:
- very lightweight (weight 17 oz)
- fits lots of stuff
- packs down super small
Cons:
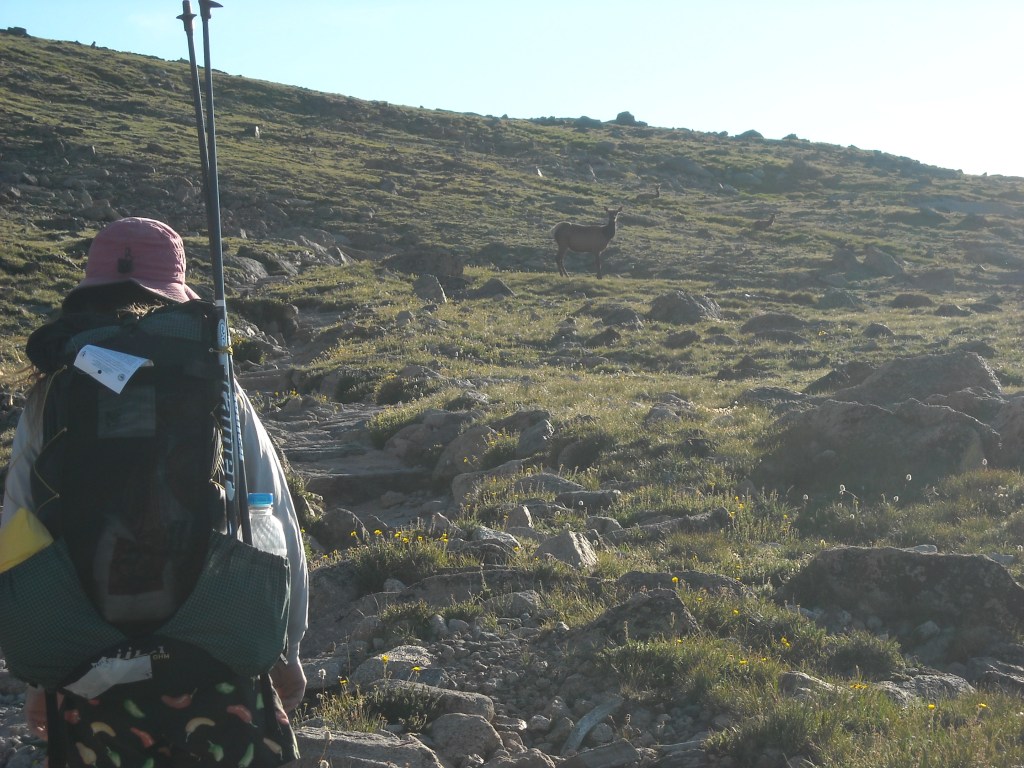
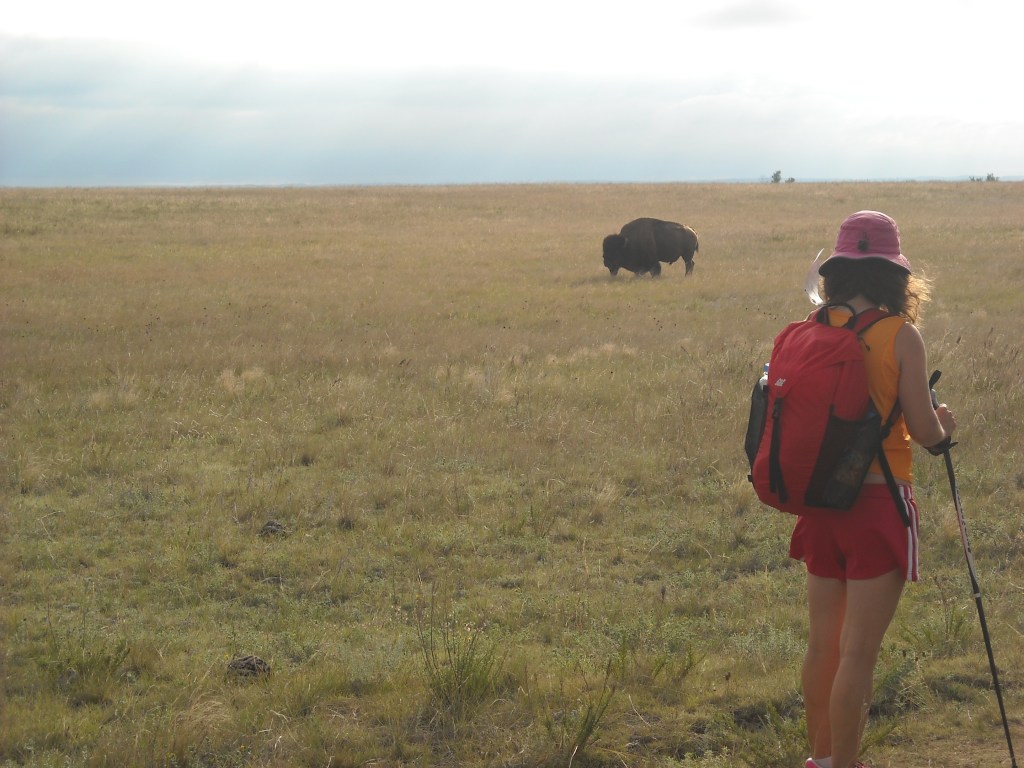
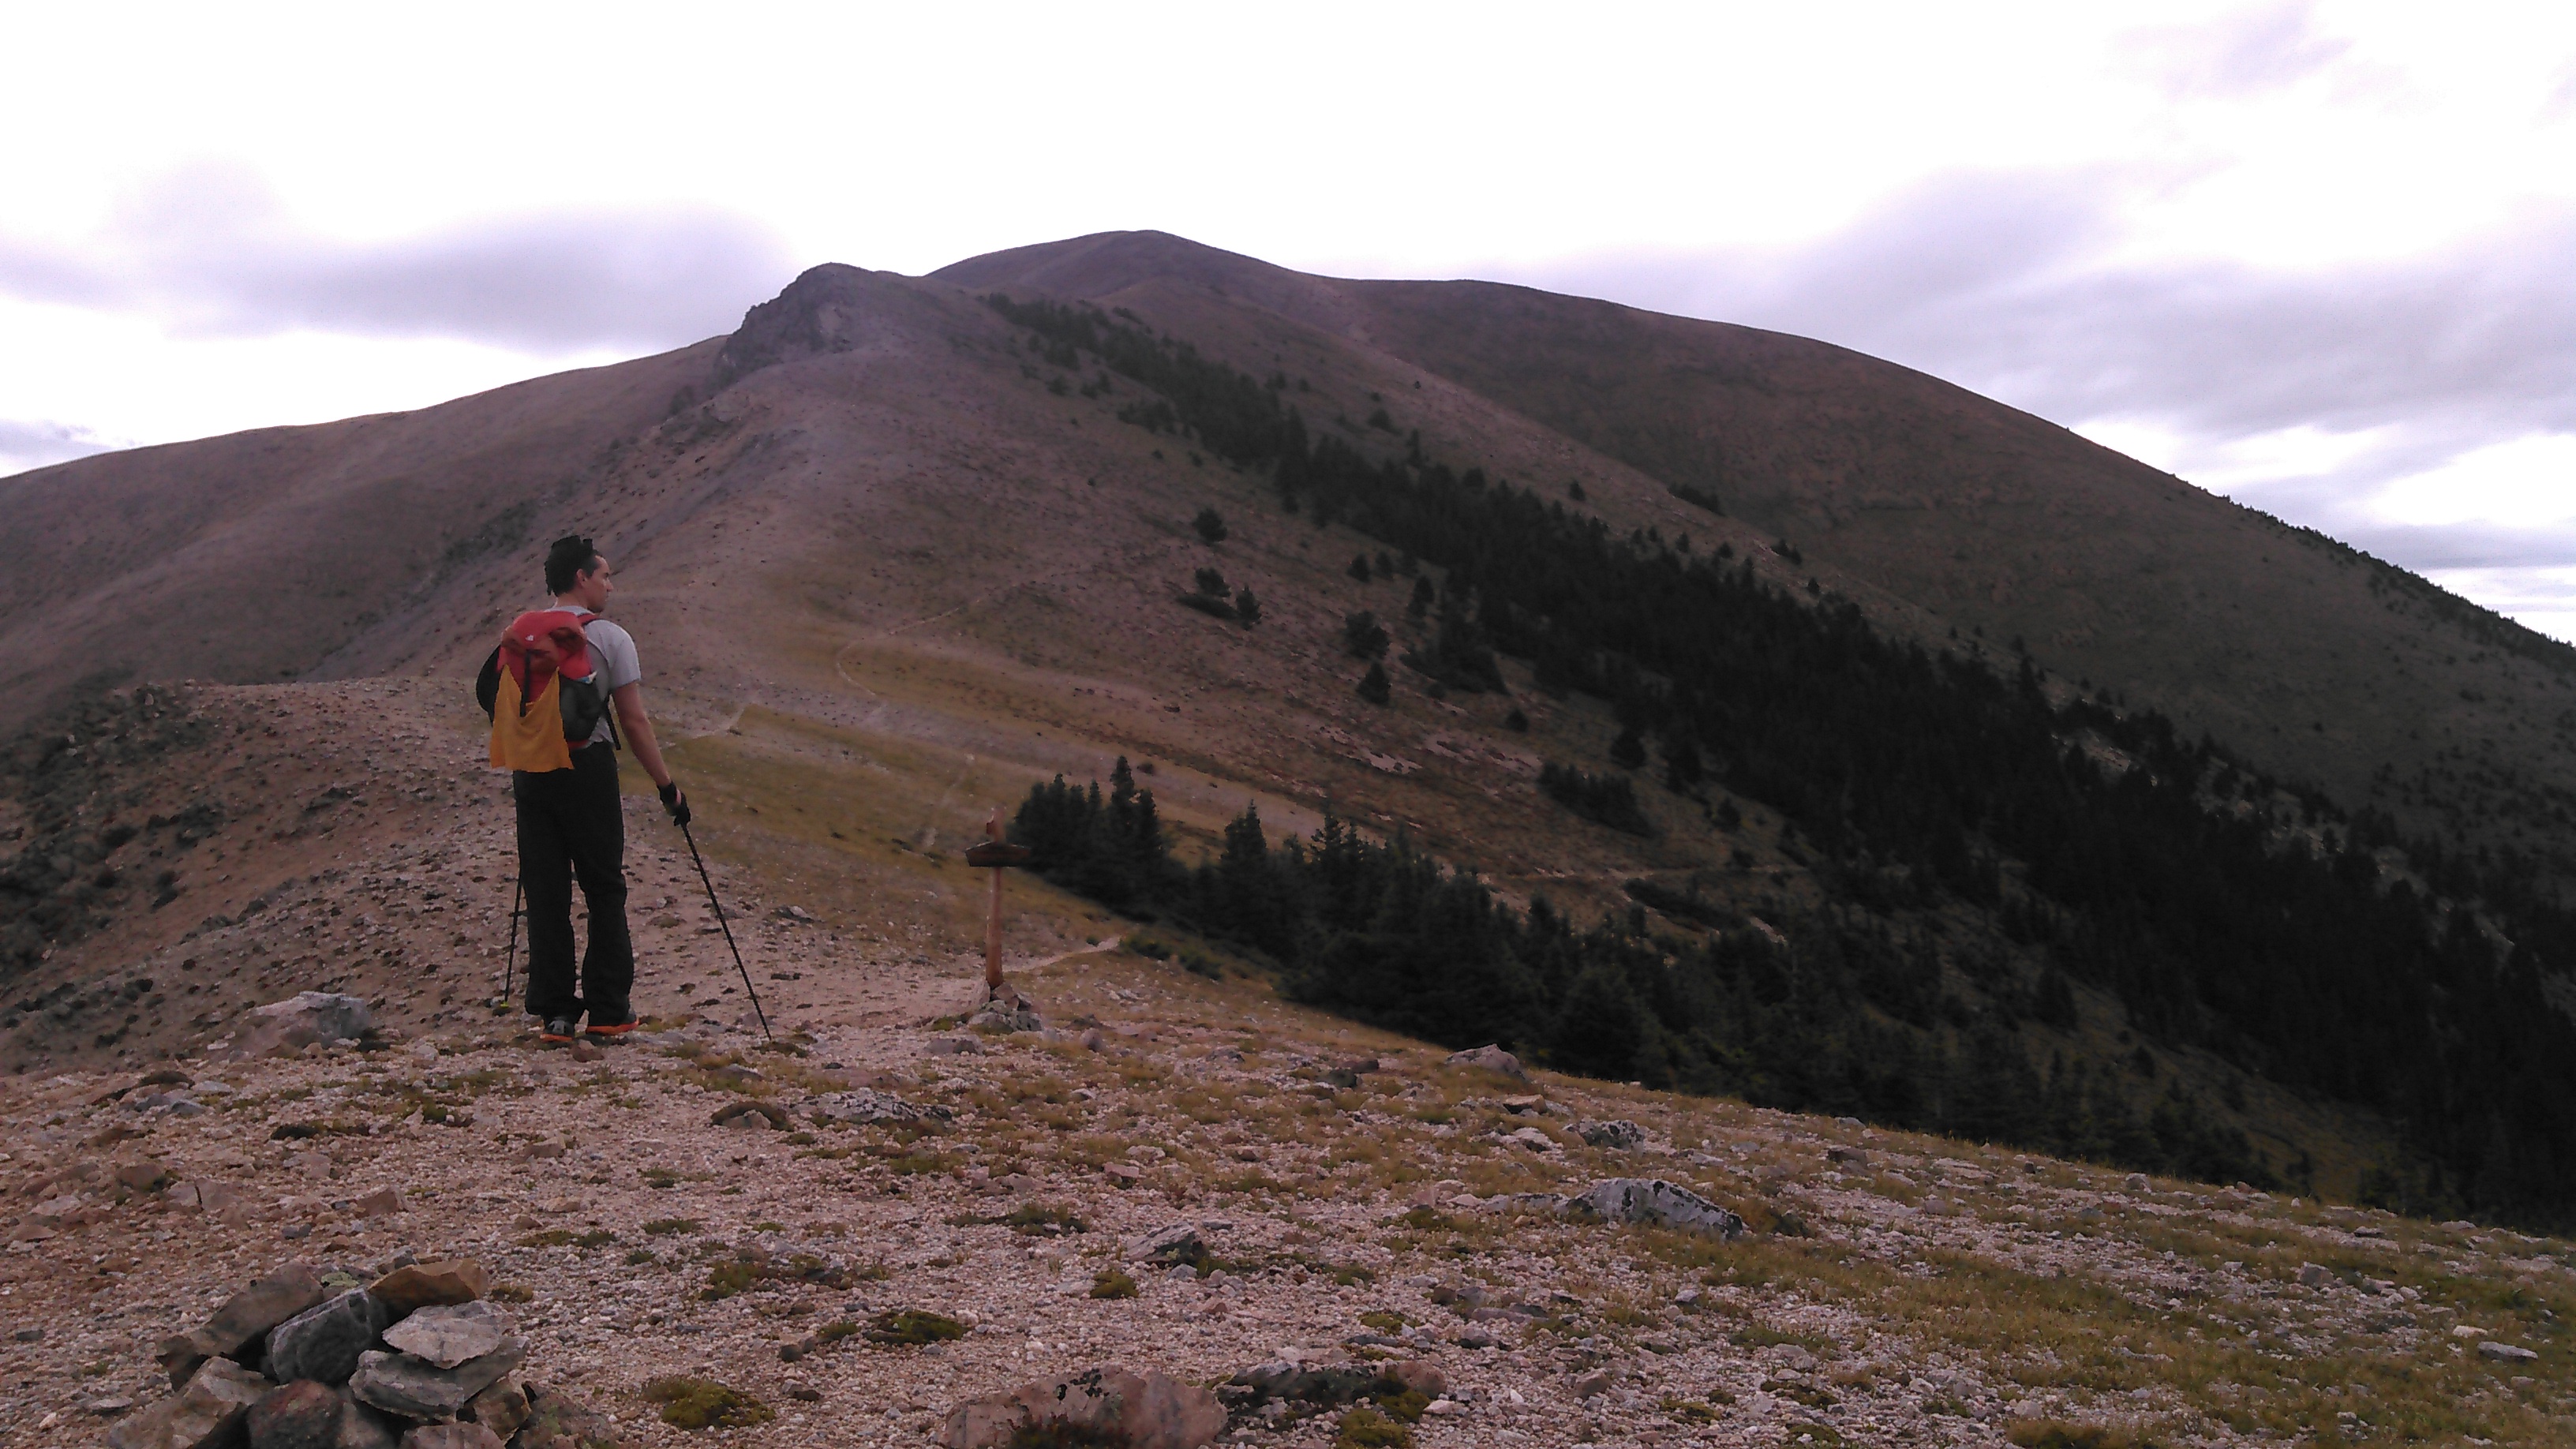
- no frame so it does not carry weight well (I suffered in Glacier- photo- where I started with a 30 pound pack carrying about 6 days worth of food)
Special notes:
- use sleeping pad as back cushion
Previous model: Ultralight Adventure Equipment OHM 2.0 in Original Green ($225-240)
Pros:
- weight 36.4 oz
- large outside pockets
Cons:
- see “special notes”
Special notes:
- This pack was bought for my 6’2 brother and hence was way too big for me when I used it; therefore I can’t accurately analyze it
Previous model: ALDI ($10)
Pros:
- super cheap
- big enough for lightweight gear for about 4 nights out
Cons:
- no frame so does not carry weight well (could use a partially inflated sleeping pad or foam pad to make it more comfortable)
Special notes:
- in a perfect world, my backcountry gear would be sponsored by ALDI. They do after all, seasonally have tents and sleeping pads although they tend to be heavy. My upcoming food post will be brought to you mostly by ALDI!
Previous model: EMS Packable Pack ($32) in red
Pros:
- cheap
- lightweight (9 oz)
- top zippered outside compartment for stowing small things
- 2 large mesh pockets on outside for water bottles, food, etc
- big enough for our tent, sleeping pad, my clothes, 2 days food, water, and small items- essentially, if it doesn’t fit in this pack, you don’t need it
Cons:
- small
- no chest strap (Erik added an after-market model)
- doesn’t carry more than 20 pounds well
Special notes:
- this was my first ever “backpacking backpack” which is a bit ridiculous. Unfortunately it bit the dust in 2019 and is now used for grocery runs
Tribute to my red EMS pack- almost 10 years of glory!


I enjoyed reading this post, both for the technical info and the pics of beautiful places. Thanks!
LikeLike